Getting started on CANNON#
The following are instructions for logging in to CANNON and setting up your own workspace.
Prerequisites. Request an FASRC account#
Get a FASRC account by requesting it here.
Once you’re notified of the approval, it can take up to an hour for your permissions to be configured. If you’re not able to access the VPN or your home directory, try waiting an hour and logging in again.
Step 1. Connect to Harvard’s VPN#
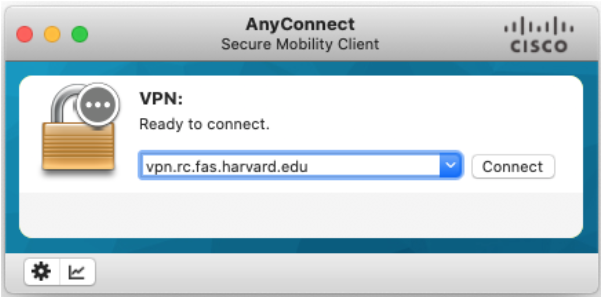
Install Cisco AnyConnect client to connect to the FASRC VPN. Install 2FA, i.e., Google Authenticator for FASRC. Set it up as explained here.
Type
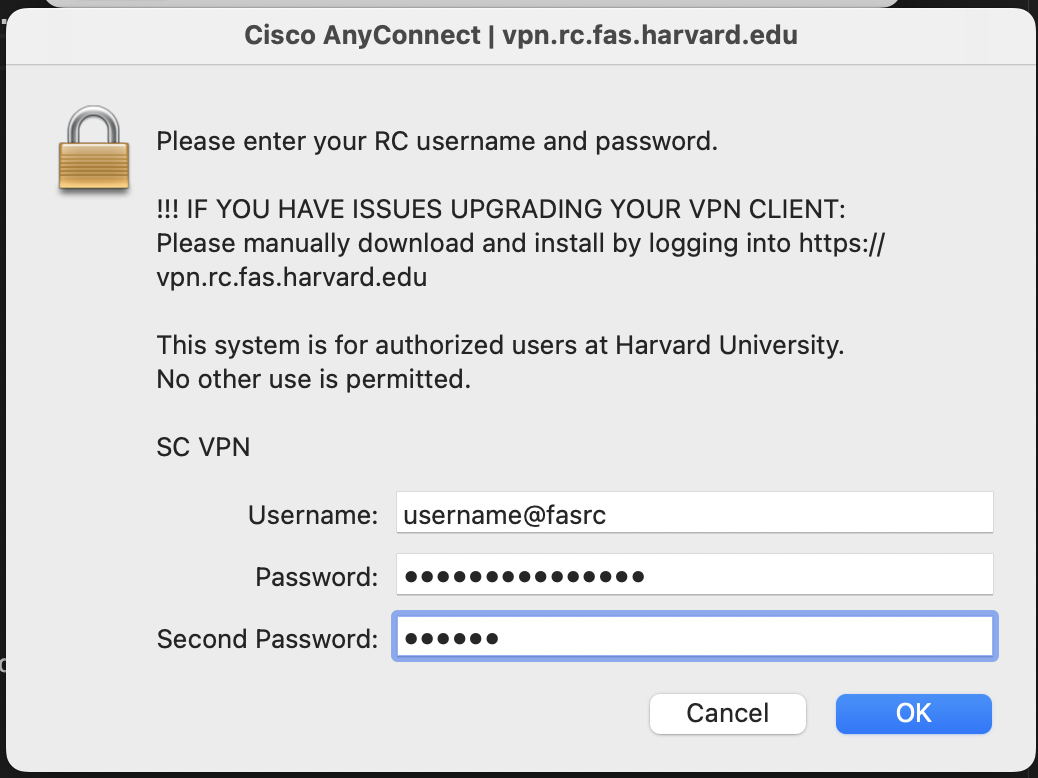
vpn.rc.fas.harvard.eduin the Cisco AnyConnect text box (see figures).Type your username in the format
username@fasrc, password and verification code (same as for FASRC).
Warning
Cannon is the Faculty of Arts and Sciences research computing cluster for users with Data Security Level 2 data.
Step 2. Access CANNON#
There are a few ways to access CANNON. You can access it via VDI/OoD (in the web browser) by clicking the link here: https://vdi.rc.fas.harvard.edu
You can also access it via command line (Terminal) by typing: ssh username@login.rc.fas.harvard.edu.
To learn more about working in the command line, check out this Unix Shell tutorial.
Note
The username, password and verification code are the same as in the previous step (and the same as for FASRC).
Tip
For more information, see the official documentation.
Step 3. Project workspace#
Refer to Step 1 in the project setup guidelines for the appropriate naming convention for your project and directory name.
Next, you should create a folder with your project name in the NSAPH projects folder at /n/dominici_lab/lab/projects.
You can do that by opening “File System” in FAS-RC Remote Desktop and navigating to the projects folder (see Fig.).

Create there a new folder with your project name (ie, heat_alert-mortality-rl).
Note
Use your project name folder in /n/dominici_lab/lab/projects as a workspace
for your analysis data and code.